
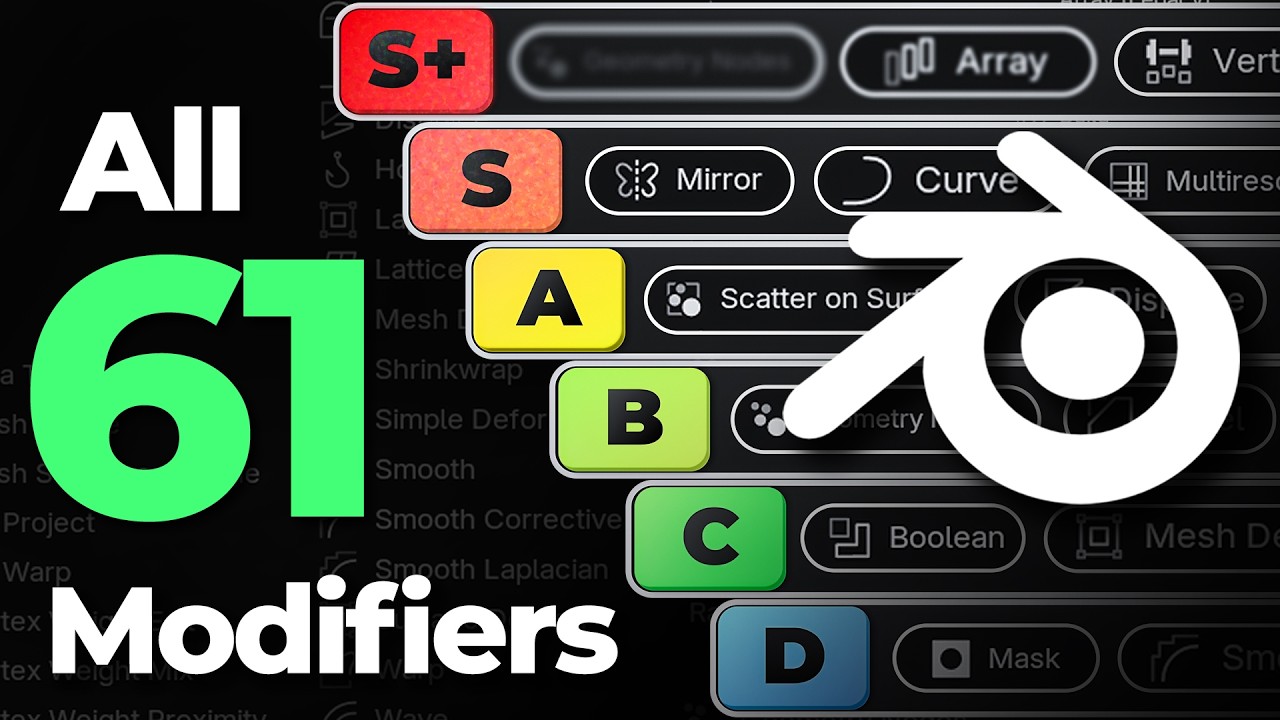
In my modifier tutorial, I rank tools by how useful they are in my own work. The most valuable ones remove repeated edits or let me change a design later. Here is a practical way to use that idea, with links to the relevant video chapters.
A tier list is a personal starting point, not a universal rule. A tool I rarely use can be essential for rigging, simulation or a particular production pipeline. The examples below expand on the video; the Blender Manual links explain the underlying behavior.
Start with the modifier stack
Blender evaluates modifiers from top to bottom. Each modifier receives the result of the ones above it, so changing their order can change the shape. Keep the stack editable while you are designing, and apply modifiers only when the next operation or export requires it. See the Blender Manual on modifier order.
When something looks wrong, disable modifiers one at a time, beginning at the bottom. Find the first stage where the result breaks before adding more geometry. That makes the problem much easier to isolate.
Mirror and Subdivision Surface: build less, refine more
Mirror · 3:23 · Subdivision Surface · 6:04
Mirror earns its place by keeping symmetrical changes synchronized. Model half a frame, a prop or a decorative motif, then let the modifier produce the other half. Before detailing, check the object origin or Mirror Object: that reference determines the plane of symmetry. Merge joins nearby seam vertices, while Clipping keeps vertices from crossing the plane during editing. The Mirror reference explains the distinction.
Subdivision Surface smooths a simple control mesh into a more detailed surface. Mirror followed by Subdivision is a useful starting point for a continuous symmetrical form, provided the center seam is merged. Keep the viewport level modest and control the shape with deliberate topology, support loops or creases. Extra subdivision will not rescue a poorly planned silhouette. Read the Subdivision Surface reference for its geometry and memory tradeoffs.
Array and Curve: repeat a good module
Array (Legacy) · 0:35 · Array · 0:48 · Curve · 8:47
Repetition is where procedural modeling quickly pays for itself. Build one convincing link, border segment or architectural detail, then adjust the count and spacing as the composition changes. The newer Array offers line, circle, curve and transform arrangements; older projects may use Array (Legacy). Check which version is in your stack before following a tutorial. See the Array reference.
There is a useful difference between placing copies along a path and deforming a repeated strip. Array (Legacy) followed by Curve is a classic approach to the latter. Its Fit Curve option sets the repeat count from the curve length; Curve handles the bending. The manual includes a worked Array-and-Curve example. Test one module and a simple path before committing to a complicated border.
In the video, I explain that Curve is also part of Ornament Generator. Knowing the principle makes it easier to troubleshoot direction and repetition, whether you assemble a stack manually or use an addon.
Boolean and Bevel: shape first, edge treatment second
Boolean helps build openings and intersections without manually tracing every cut. For a panel with a recess, keep the cutter editable until the dimensions are settled. Then inspect the resulting edges before adding detail. Clean, closed meshes are the most predictable input; the Boolean documentation describes solver limits.
Bevel adds an adjustable edge treatment. In the video, I discuss the tradeoff between direct Edit Mode control and keeping the operation procedural. A practical starting stack is Boolean followed by Bevel, so the new cut edges can receive a bevel too. Choose the affected edges deliberately and start with a small width. If corners overlap, inspect the cut and bevel settings before raising the segment count. See the Bevel options.
Solidify: give surfaces useful thickness
Solidify is useful when a thin surface needs to become a shell: a metal panel, a lampshade or a piece of armor. Keep thickness adjustable while fitting that object into the scene. Check face normals, offset and object scale if the result grows in an unexpected direction or has uneven thickness.
Even Thickness is an aid, not a guarantee of perfect wall thickness on every mesh. For a printable part, inspect the actual result rather than trusting a single value. The Solidify reference explains the scale behavior and thickness limitations.
Smooth by Angle: separate shading from shape
Smooth by Angle controls edge sharpness according to the angle between neighboring faces. It is a bundled Geometry Nodes asset and a useful finishing step for surfaces that need smooth shading alongside crisp transitions. It does not add the rounded silhouette of a bevel or the geometry of subdivision. If the outline is faceted, fix the shape; if a flat surface looks lumpy, inspect the shading and topology. See the Smooth by Angle reference.
Geometry Nodes: turn repeated decisions into a tool
Geometry Nodes receives my highest rating because it lets you build reusable tools. Start with a task you already understand: distributing details, changing a repeated module or exposing a few controls for a procedural asset. Build the smallest setup that solves that task. You do not need to replace a simple Mirror or Bevel with a node graph just to make the workflow procedural.
A short modifier practice session
- Build half a simple frame and test Mirror before adding fine details.
- Create one decorative segment and experiment with Array spacing.
- Add a Boolean opening, then compare Bevel before and after the cut.
- Compare Subdivision Surface with Smooth by Angle and watch the silhouette.
- Save an editable version before applying modifiers for delivery.
The goal is to recognize which operation makes the next revision easier. Watch the full tutorial for the wider comparison, then practice these tools on one small model instead of trying to memorize every modifier at once.