
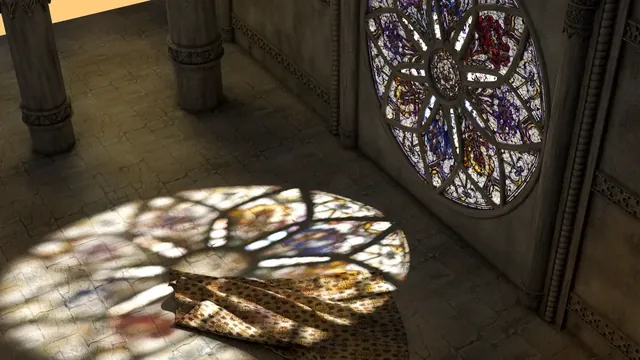

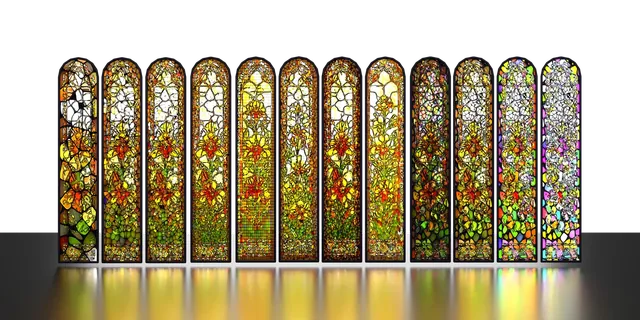
What it does.
Vitrage Generator was released in Beta for Blender 5.0+. The current workflow is fully functional but complex procedural calculations can be demanding, so final-mesh optimization and performance improvements remain an important development priority.
Core workflow.
- Open the included project and run the setup script.
- Select / load the image that should drive the stained-glass design.
- Adjust Resolution and Slice Method to control segmentation and performance.
- Tune frame / vein width and height, then refine Voronoi scale, shape and randomness.
- Before applying the final modifier, enable Click Before Apply to create a faster final mesh that can be copied between Blender files.
Getting started.
- Vitrage Generator is modifier-based and is best used with the included Blender project file.
- Open the included Blender file in Blender 5.0 or newer.
- Run the setup script.
- The script assigns the selected image to the required nodes and materials.
- Choose your image and begin editing the generated stained glass.
Main controls.
Higher values create more detail and smaller glass pieces but increase calculation time.
Basic Slice works for general cases; Bright / Hue can produce more advanced segmentation for colorful or high-contrast images.
Three thresholds control where geometry is divided. Darker images generally benefit from lower values.
Removes tiny fragments and can clean / optimize the generated topology.
Controls 3D resolution plus the width and height of lead connections and the outer frame.
Creates two procedural glass regions with independent scale, randomness and shape settings.
Adds internal depth and surface imperfection to the glass material.
Controls transmitted light, random color variation, emission, bump strength and optional extra caustics.
Watch the tutorial.
Open the official PeakDreams video for a complete visual walkthrough and examples.
WATCH ON YOUTUBE